Banana Pudding Recipe – Creamy, Classic & Southern-Style
Let me tell you about the dessert that’ll make you forget every fancy restaurant creation you’ve ever tasted. This Classic Southern Banana Pudding isn’t just a dessert – it’s a straight-up experience that’ll transport you to someone’s grandmother’s kitchen, even if you’ve never been to the South.
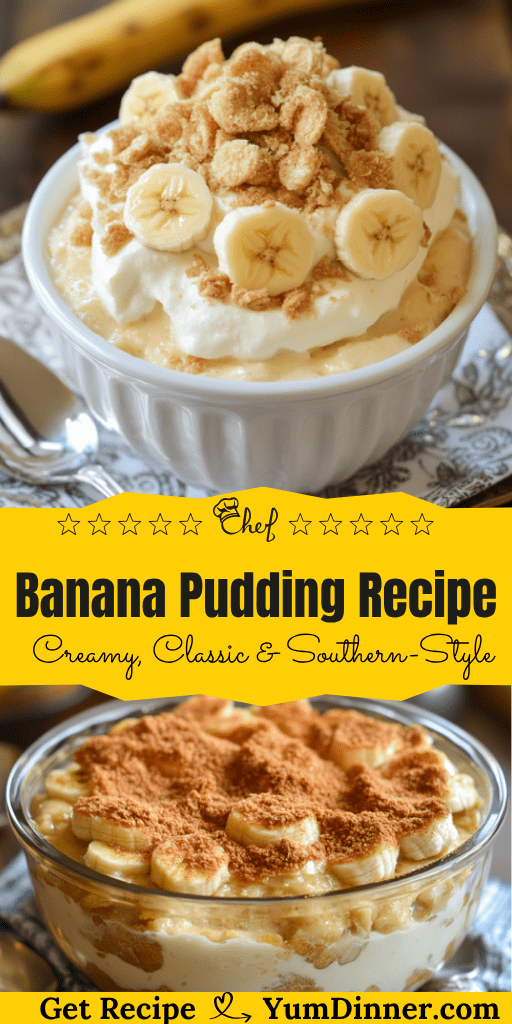
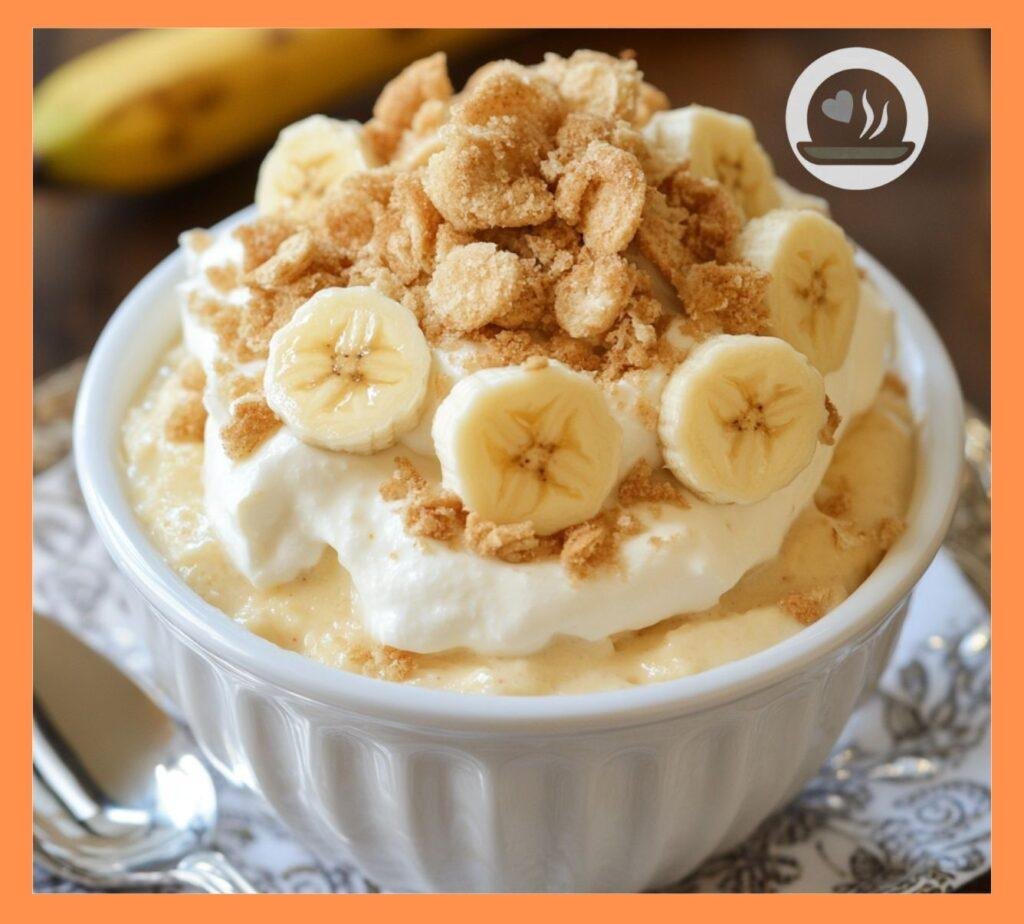
I discovered this recipe during a particularly rough week when I needed something that felt like a warm hug in dessert form. What started as a desperate craving for comfort food turned into my signature dessert that people literally beg me to bring to every gathering. The combination of creamy vanilla pudding, fresh bananas, and those iconic Nilla wafers creates layers of pure bliss that somehow taste even better the next day.
The beauty of this banana pudding lies in its simplicity. No fancy techniques, no exotic ingredients – just good old-fashioned comfort food that happens to be absolutely irresistible. Your friends will think you spent hours slaving away in the kitchen, but honestly? This comes together faster than you’d expect and delivers maximum impact with minimal effort.
Nutrition Information
Here’s what you’re getting in each heavenly serving:
| Nutrient | Amount per Serving |
| Calories | 342 |
| Protein | 6g |
| Carbohydrates | 48g |
| Fat | 14g |
| Saturated Fat | 8g |
| Fiber | 2g |
| Sugar | 38g |
| Sodium | 285mg |
| Cholesterol | 95mg |
Serves 12 (but you’ll probably want seconds)
What Makes This Banana Pudding Legendary
Here’s the thing about banana pudding – everyone thinks they know how to make it, but there’s a huge difference between “good enough” and “absolutely incredible.” The secret lies in understanding that this dessert is all about balance and timing.
The pudding needs to be rich and creamy without being too heavy. The bananas should be perfectly ripe – not green, not mushy, but that perfect sweet spot where they’re still firm enough to hold their shape. And those Nilla wafers? They need to maintain just enough crunch to provide textural contrast while absorbing enough moisture to become part of the creamy dreamscape.
Ever wondered why some banana puddings taste like cafeteria food while others make you close your eyes and sigh with contentment? It’s all in the details, and I’m about to share every single one of them with you.
Ingredients You’ll Need
For the Vanilla Pudding Base:
- 3/4 cup granulated sugar
- 1/3 cup all-purpose flour
- 1/4 teaspoon salt
- 3 cups whole milk (don’t even think about using skim)
- 3 large egg yolks
- 2 tablespoons butter
- 1 tablespoon vanilla extract (pure vanilla only – no imitation stuff)
For the Meringue Topping:
- 3 large egg whites (at room temperature)
- 1/4 teaspoon cream of tartar
- 6 tablespoons granulated sugar
- 1/2 teaspoon vanilla extract
For Assembly:
- 1 box (11 oz) Nilla wafers (the classic yellow box – accept no substitutes)
- 4-5 large ripe bananas, sliced into 1/4-inch rounds
- 1 tablespoon lemon juice (to prevent browning)
Step-by-Step Instructions
Making the Perfect Pudding
Step 1: In a heavy-bottomed saucepan, whisk together the sugar, flour, and salt. This dry mixture prevents lumps from forming later – trust the process.
Step 2: Gradually whisk in the milk, making sure to eliminate any lumps. Start with just a splash and whisk until smooth, then gradually add the rest. This technique prevents that dreaded lumpy pudding disaster.
Step 3: Place the saucepan over medium heat and cook, whisking constantly, for 8-10 minutes until the mixture thickens and coats the back of a spoon. You’ll know it’s ready when you can draw a line through the pudding on the spoon with your finger and it stays put.
Step 4: In a small bowl, lightly beat the egg yolks. Here’s where technique matters – you need to temper the eggs to prevent scrambling. Slowly whisk about 1/2 cup of the hot pudding mixture into the egg yolks, then gradually whisk this mixture back into the saucepan.
Step 5: Continue cooking for 2-3 minutes, whisking constantly, until the pudding is thick and smooth. Remove from heat and immediately stir in the butter and vanilla extract. The butter adds richness while the vanilla provides that classic flavor we’re after.
Step 6: Press plastic wrap directly onto the surface of the pudding to prevent a skin from forming. Let it cool for about 15 minutes while you prep everything else.
Preparing the Components
Step 7: Preheat your oven to 375°F. You’ll need this for the meringue topping.
Step 8: Slice your bananas into even rounds and toss them gently with lemon juice. This prevents browning and adds a subtle brightness that balances the rich pudding.
Step 9: Arrange about half of the Nilla wafers in the bottom of a 9×13-inch baking dish. Don’t worry about making them perfectly uniform – rustic charm is part of the appeal.
Assembly Magic
Step 10: Spread half of the warm pudding over the wafers. The slight warmth helps everything meld together beautifully.
Step 11: Layer half of the sliced bananas over the pudding, then add another layer of wafers. Pour the remaining pudding over the wafers and top with the remaining banana slices.
Step 12: For the final wafer layer, arrange them artfully on top – this is your chance to make it look Instagram-worthy if that’s your thing.
Creating the Perfect Meringue
Step 13: In a clean bowl (any trace of grease will prevent proper whipping), beat the egg whites and cream of tartar with an electric mixer until soft peaks form.
Step 14: Gradually add the sugar, one tablespoon at a time, beating well after each addition. Continue beating until stiff, glossy peaks form. This takes about 5-7 minutes, so be patient.
Step 15: Beat in the vanilla extract until just combined.
Step 16: Spread the meringue over the entire surface of the pudding, making sure to seal the edges completely. Create peaks and swirls with the back of a spoon for that classic look.
The Final Touch
Step 17: Bake for 12-15 minutes until the meringue is golden brown. Keep an eye on it – meringue can go from perfect to burnt in a matter of minutes.
Step 18: Remove from the oven and let it cool completely at room temperature, then refrigerate for at least 4 hours before serving. I know the wait is torture, but this chilling time is crucial for the flavors to meld and the layers to set properly.
Pro Tips That’ll Make You a Banana Pudding Legend
Temperature matters. Room temperature egg whites whip better than cold ones. Take them out of the fridge about 30 minutes before you plan to use them.
Don’t skip the tempering step. Adding hot pudding directly to egg yolks will give you scrambled eggs, not smooth pudding. Take your time with this step.
Banana ripeness is crucial. You want bananas that are yellow with just a few brown spots. Too green and they’re flavorless; too ripe and they’ll turn mushy.
Assembly timing is everything. Assemble this dessert while the pudding is still slightly warm. The warmth helps soften the wafers just enough without making them soggy.
Make-Ahead Magic
Here’s something that’ll blow your mind – this banana pudding actually tastes better after sitting overnight in the refrigerator. The wafers soften to the perfect texture, the flavors meld together, and everything reaches this incredible harmony that’s impossible to achieve with immediate serving.
You can make this up to 2 days ahead of time, which makes it perfect for entertaining. Just cover tightly with plastic wrap and keep refrigerated. FYI: The meringue might weep slightly after the first day, but it still tastes incredible 🙂
Variation Ideas
Want to put your own spin on this classic? Here are some variations that work beautifully:
Flavor Twists:
- Chocolate Banana Pudding: Add 1/4 cup cocoa powder to the pudding base
- Peanut Butter Banana: Swirl in 1/3 cup peanut butter with the vanilla
- Coconut Banana: Replace 1/2 cup of milk with coconut milk and add toasted coconut flakes
- Bourbon Banana: Add 2 tablespoons bourbon to the pudding (for adults only, obviously)
Texture Additions:
- Crushed vanilla wafers mixed into the pudding layers
- Toasted pecans or walnuts for crunch
- Mini chocolate chips scattered between layers
- Caramel sauce drizzled between layers
Serving Suggestions
This banana pudding is perfect on its own, but if you want to get fancy, here are some accompaniments that work beautifully:
- Fresh berries for color and tartness
- Whipped cream for extra indulgence
- Caramel or chocolate sauce drizzled on top
- Crushed cookies for additional texture
Storage and Serving Tips
Store covered in the refrigerator for up to 4 days. The texture will continue to evolve as the wafers absorb more moisture, but many people actually prefer it this way.
For serving, use a large spoon to scoop through all the layers – you want each portion to include pudding, bananas, and wafers in every bite. IMO, the best way to eat this is straight from the dish while standing in the kitchen at midnight, but that’s just my personal experience.
Common Mistakes to Avoid
Don’t use instant pudding. I know it’s tempting, but homemade pudding makes all the difference in flavor and texture.
Avoid overripe bananas. They’ll turn to mush and make the whole dessert watery.
Don’t skip the lemon juice. Those few drops prevent the bananas from browning and add subtle brightness.
Never assemble too far in advance. While overnight is perfect, more than 2 days and the wafers become too soft.
The Science Behind the Magic
The beauty of banana pudding lies in the chemical reactions happening between the layers. The slight acidity in the bananas helps balance the richness of the custard, while the wafers provide starch that helps bind everything together as they soften.
The meringue isn’t just for show – it creates a protective barrier that prevents the pudding from forming a skin while adding that classic Southern touch. The proteins in the egg whites also help stabilize the entire dessert structure.
Why This Recipe Works Every Time
The key to consistent success with this recipe is understanding that banana pudding is about balance. Each component needs to shine on its own while contributing to the greater whole. The pudding provides richness, the bananas add natural sweetness and freshness, the wafers contribute texture and subtle vanilla flavor, and the meringue brings everything together with its light, sweet finish.
I’ve tested this recipe more times than I care to admit (purely for quality control purposes, of course), and it delivers the same incredible results every single time. The technique might seem a bit involved, but each step serves a purpose in creating that perfect final product.
The Bottom Line
Look, I’ve made a lot of desserts over the years, but this Classic Southern Banana Pudding holds a special place in my heart and on my dinner table. It’s the kind of dessert that creates memories – the one people will ask you to make for every birthday, holiday, and special occasion.
The combination of homemade vanilla pudding, perfectly ripe bananas, and those iconic Nilla wafers creates something that’s simultaneously nostalgic and exciting. It’s comfort food at its finest, proof that sometimes the simplest ingredients can create the most extraordinary results.
Whether you’re making this for a family gathering, a potluck, or just because you’re craving something that tastes like happiness, this recipe will deliver every single time. Your guests will be scraping the dish clean and begging for the recipe, and honestly, there’s no better compliment than that.
So next time you want to create something truly special without spending all day in the kitchen, remember this banana pudding. It’s Southern comfort at its finest, and once you taste it, you’ll understand why this dessert has been making people happy for generations. Trust me on this one – your taste buds will thank you :/