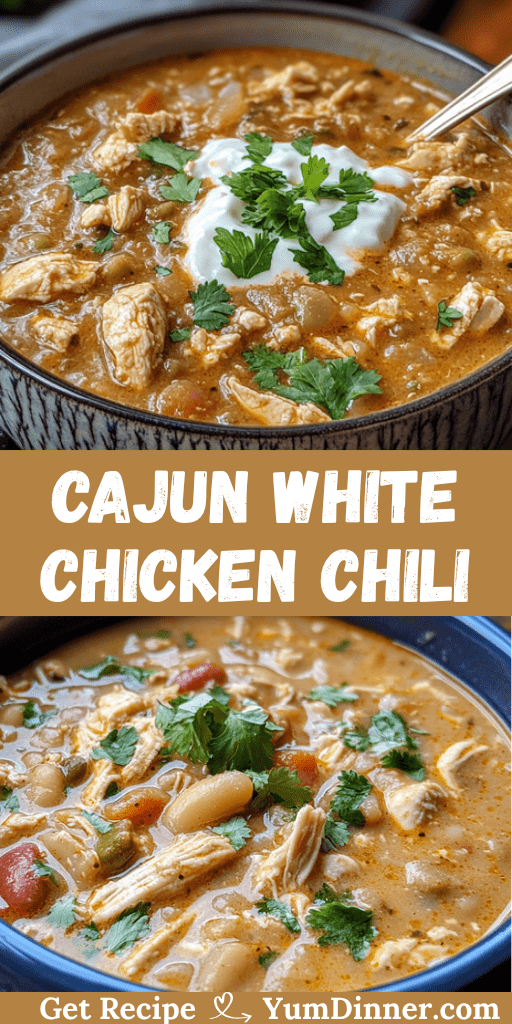
Cajun White Chicken Chili – Spicy, Creamy & Full of Flavor
Forget everything you think you know about chili. This Cajun white chicken chili is about to completely rewire your expectations of what a bowl of comfort food can be. We’re talking creamy, spicy, soul-warming goodness that somehow manages to be both sophisticated and completely satisfying at the same time.
I first made this during a particularly brutal winter when I was craving something that would warm me from the inside out, but I was completely over traditional red chili. Sometimes you need something different, you know? This white chili delivers all that cozy comfort you’re looking for, but with a Cajun twist that keeps things interesting.
The best part? It’s actually easier to make than traditional chili because you don’t have to babysit it for hours. Most of the work happens in the first 20 minutes, then you just let it simmer while your house fills with the most incredible aroma. Plus, it freezes beautifully and tastes even better the next day.
Nutrition Information
Here’s what you’re getting per generous serving (recipe makes 6 hearty servings):
| Nutrient | Per Serving |
| Calories | 385 |
| Carbohydrates | 28g |
| Protein | 35g |
| Fat | 16g |
| Fiber | 8g |
| Sugar | 6g |
| Sodium | 890mg |
| Potassium | 720mg |
| Iron | 4mg |
| Vitamin C | 15mg |
Why White Chili is Actually Superior (Fight Me)
Look, I love a good traditional chili as much as the next person, but white chili has some serious advantages that nobody talks about. First, it’s way more forgiving – you can’t really overcook white beans the way you can destroy kidney beans. Second, the cream base means you get that rich, satisfying mouthfeel without needing to simmer for six hours.
The Cajun seasoning is where this recipe really shines. Instead of relying on chili powder and cumin like everyone else, we’re building heat and flavor with paprika, cayenne, and a blend of herbs that actually complement the chicken instead of overpowering it.
This isn’t soup, and it’s not stew – it’s something perfectly in between that hits all the right comfort food notes while still feeling fresh and interesting. Plus, it’s naturally gluten-free if you care about that sort of thing.
The Ingredients: Building Flavor Layer by Layer
The Protein Foundation:
- 2 pounds boneless, skinless chicken thighs (trust me, don’t use breasts)
- 2 tablespoons olive oil
- Salt and black pepper for seasoning
The Cajun Spice Blend:
- 2 teaspoons paprika
- 1 teaspoon garlic powder
- 1 teaspoon onion powder
- 1 teaspoon dried oregano
- 1 teaspoon dried thyme
- 1/2 teaspoon cayenne pepper (adjust to taste)
- 1/2 teaspoon white pepper
- 1/4 teaspoon ground sage
The Vegetable Base:
- 1 large yellow onion, diced
- 1 large bell pepper, diced (green or red, your choice)
- 3 celery stalks, diced
- 4 cloves garlic, minced
- 2 jalapeño peppers, seeded and minced (keep seeds if you like heat)
The Liquid Gold:
- 4 cups low-sodium chicken broth
- 1 cup heavy cream
- 1 can (4 oz) diced green chiles
- 2 tablespoons tomato paste
The Bean Situation:
- 2 cans (15 oz each) cannellini beans, drained and rinsed
- 1 can (15 oz) great northern beans, drained and rinsed
Finishing Touches:
- 1/2 cup fresh cilantro, chopped
- 2 green onions, sliced thin
- 2 tablespoons fresh lime juice
- 1 cup sharp white cheddar cheese, shredded
Here’s why chicken thighs matter: they stay tender and juicy even after simmering, while chicken breasts turn into sad, stringy disappointments. Dark meat has more flavor and more fat, which means it actually improves the overall richness of the chili.
Step-by-Step Instructions:
Building the Cajun Base:
Step 1: Mix all the Cajun spice blend ingredients in a small bowl. This is your flavor foundation – make sure everything is well combined and store any extra in an airtight container for future use.
Step 2: Pat the chicken thighs dry and season them generously with salt, pepper, and about half of your Cajun spice blend. Let them sit at room temperature for 15-20 minutes while you prep your vegetables.
Step 3: Heat olive oil in a large, heavy-bottomed pot or Dutch oven over medium-high heat. Sear the chicken thighs for 4-5 minutes per side until they’re golden brown and beautiful. Don’t overcrowd the pot – work in batches if necessary.
Step 4: Remove the chicken to a plate and set aside. Don’t clean the pot – all those browned bits are pure flavor gold.
The Aromatic Foundation:
Step 5: In the same pot with all those delicious chicken drippings, add the diced onion, bell pepper, and celery. Cook for 5-6 minutes until the vegetables start to soften and the onion becomes translucent.
Step 6: Add the minced garlic and jalapeños, cooking for another minute until fragrant. Be careful not to burn the garlic – it goes from perfect to bitter in about 10 seconds.
Step 7: Add the tomato paste and remaining Cajun spice blend. Stir constantly for about 1 minute to toast the spices and cook out the raw tomato paste flavor.
Building the Chili:
Step 8: Pour in the chicken broth and scrape up all those browned bits from the bottom of the pot. This is called deglazing, and it’s crucial for developing deep flavor in your chili.
Step 9: Add the seared chicken thighs back to the pot along with the diced green chiles. Bring everything to a boil, then reduce heat to low and simmer covered for 25-30 minutes until the chicken is tender and easily shreds.
Step 10: Remove the chicken from the pot and shred it using two forks. While it’s still warm is the best time to shred – it practically falls apart on its own.
The Final Assembly:
Step 11: Add the drained beans to the pot and simmer for 10 minutes to let them absorb some of the flavors. Don’t skip this step – cold beans straight from the can will cool down your chili and taste bland.
Step 12: Stir in the heavy cream and shredded chicken. Simmer for another 5-10 minutes until everything is heated through and the chili reaches your desired consistency.
Step 13: Remove from heat and stir in the lime juice, cilantro, and green onions. Taste and adjust seasoning – you might need more salt, lime juice, or cayenne depending on your preferences.
Pro Tips That Separate Good from Great
Want to know what makes restaurant-quality chili at home? It’s all about layering flavors instead of just dumping everything together and hoping for the best.
First, that initial searing step is non-negotiable. Yes, you could skip it and just throw raw chicken into the pot, but you’d be missing out on so much flavor development. Those caramelized bits are what separate good chili from great chili.
Second, make your own Cajun seasoning blend. Store-bought is fine in a pinch, but making your own means you can control the salt content and adjust the heat level to your taste. Plus, fresh spices always taste better than that dusty bottle that’s been in your cabinet since 2019.
Third, don’t add the cream too early. Heavy cream can curdle if it gets too hot or simmers too long. Add it toward the end and keep the heat low once it’s in there.
Consistency Control: Getting It Just Right
Ever wonder why some chili is watery while others are thick enough to eat with a fork? It’s all about controlling the liquid. If your chili is too thin, simmer it uncovered for an extra 10-15 minutes to let some of the liquid evaporate.
Too thick? Add more chicken broth a little at a time until you reach the perfect consistency. The chili should coat a spoon but still be spoonable – think somewhere between soup and stew.
Here’s a secret weapon: mash about half a cup of the beans against the side of the pot before adding the cream. This releases starch that naturally thickens the chili without changing the flavor.
Spice Level Customization (Because We’re All Different)
Not everyone has the same heat tolerance, and that’s totally fine. Start with less cayenne and work your way up – you can always add more heat, but you can’t take it away.
For mild chili, cut the cayenne in half and skip the jalapeño seeds. For medium heat, follow the recipe as written. For fire-breathing dragon level, double the cayenne and leave some jalapeño seeds in there.
If you accidentally make it too spicy, a spoonful of sour cream or Greek yogurt will cool things down without diluting the flavor too much.
What to Serve It With (The Supporting Cast)
This chili is hearty enough to be a complete meal, but sometimes you want to make it feel more special. Cornbread is the classic choice – something about that sweet corn flavor with spicy chili just works.
Crusty French bread for dipping is another winner. Baked sweet potatoes topped with chili make an incredible comfort food mashup. Over rice turns it into more of a stew situation that’s perfect for stretching leftovers.
For toppings, think sour cream, extra cheese, avocado slices, and maybe some crushed tortilla chips for crunch. Honestly though, this chili is so good that it doesn’t need much help.
Storage and Freezer Magic
This is one of those recipes that actually improves with time. The flavors meld together overnight, making day-two chili even better than day-one chili. Store it in the fridge for up to 5 days, or freeze portions for up to 6 months.
Freeze it in individual portions so you can thaw exactly what you need. I like using quart-sized freezer bags laid flat – they stack neatly and thaw quickly.
To reheat, thaw overnight in the fridge if frozen, then warm gently on the stovetop over low heat. Add a splash of broth if it’s gotten too thick during storage.
Troubleshooting Common Issues
Chicken turned out dry? You probably used chicken breasts or overcooked the thighs. Next time, stick with thighs and don’t simmer them longer than 30 minutes.
Chili tastes flat? Add more acid (lime juice) and salt. Acid brightens all the other flavors and makes everything taste more vibrant.
Cream curdled? Your heat was too high when you added it. Start over with the cream portion – there’s no fixing curdled cream, unfortunately.
Not enough heat? Add a dash of hot sauce or cayenne, but do it gradually. You can always add more, but you can’t take it back.
Why This Recipe Works Every Single Time
The genius of this chili is in the technique and timing. By searing the chicken first, you’re building a flavor foundation that carries through the entire dish. The Cajun spices complement rather than compete with each other, and the cream adds richness without masking the other flavors.
The bean combination is also strategic – cannellini beans hold their shape well while great northern beans break down slightly, creating natural thickening. Together, they give you the perfect texture contrast.
This recipe is also incredibly forgiving. If you mess up one element, the others will carry it – which is exactly what you want in a comfort food recipe.
The Make-Ahead Factor
Want to know a secret? This chili is perfect for entertaining because you can make it completely ahead of time. The flavors actually improve after sitting, and reheating is foolproof.
Make it up to two days in advance, store it in the fridge, then just reheat gently before serving. Add fresh herbs and lime juice after reheating to brighten everything up.
For meal prep warriors, this chili is absolutely perfect. Portion it into containers at the beginning of the week and you’ve got lunch sorted for days.
The Final Word on White Chili Supremacy
Look, I’m not saying this Cajun white chicken chili is going to solve all your problems, but it’s definitely going to solve your “what’s for dinner” problem in the most delicious way possible. It’s comfort food that doesn’t compromise on flavor, and it’s sophisticated enough to serve to guests but easy enough for a Tuesday night.
The next time someone tries to tell you that “real” chili has to be red with ground beef, just smile and offer them a bowl of this. Once they taste it, they’ll understand that sometimes the best versions of classic dishes are the ones that break all the rules.
So grab your Dutch oven, fire up that stove, and get ready to make the kind of chili that’ll have people asking for the recipe. Because honestly? Once you master this white chili game, regular chili starts to feel a little basic. And that’s a pretty good problem to have 🙂