Sweet Chili Chicken Recipe – Sticky, Spicy & So Delicious
Sweet Chili Chicken: The Crispy, Sticky Masterpiece That’ll Ruin Takeout Forever
Remember that first bite of perfectly crispy chicken glazed in sweet chili sauce that made your eyes roll back in pure bliss? Yeah, this recipe captures that exact moment and puts it on repeat. I’ve been perfecting this sweet chili chicken for three years now, and honestly, it’s become the dish everyone begs me to make at gatherings.
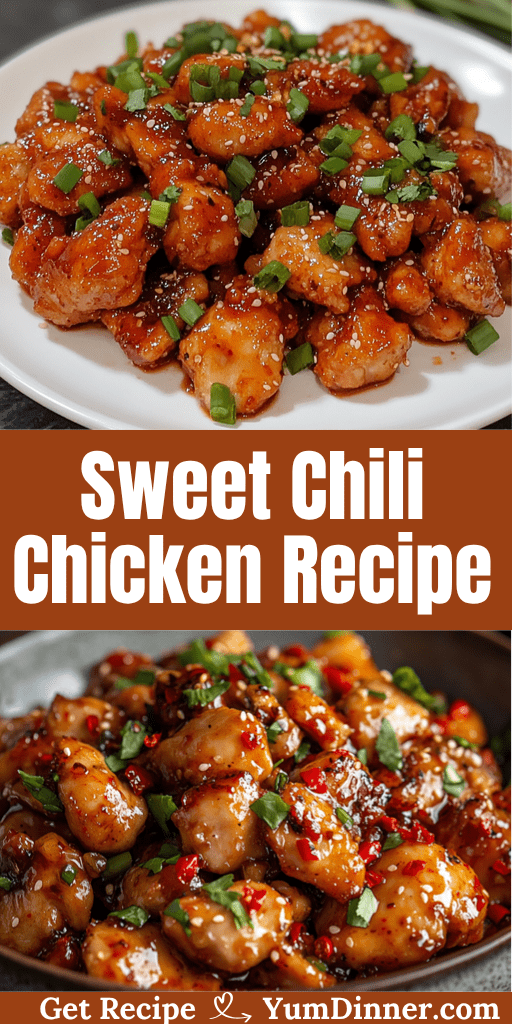
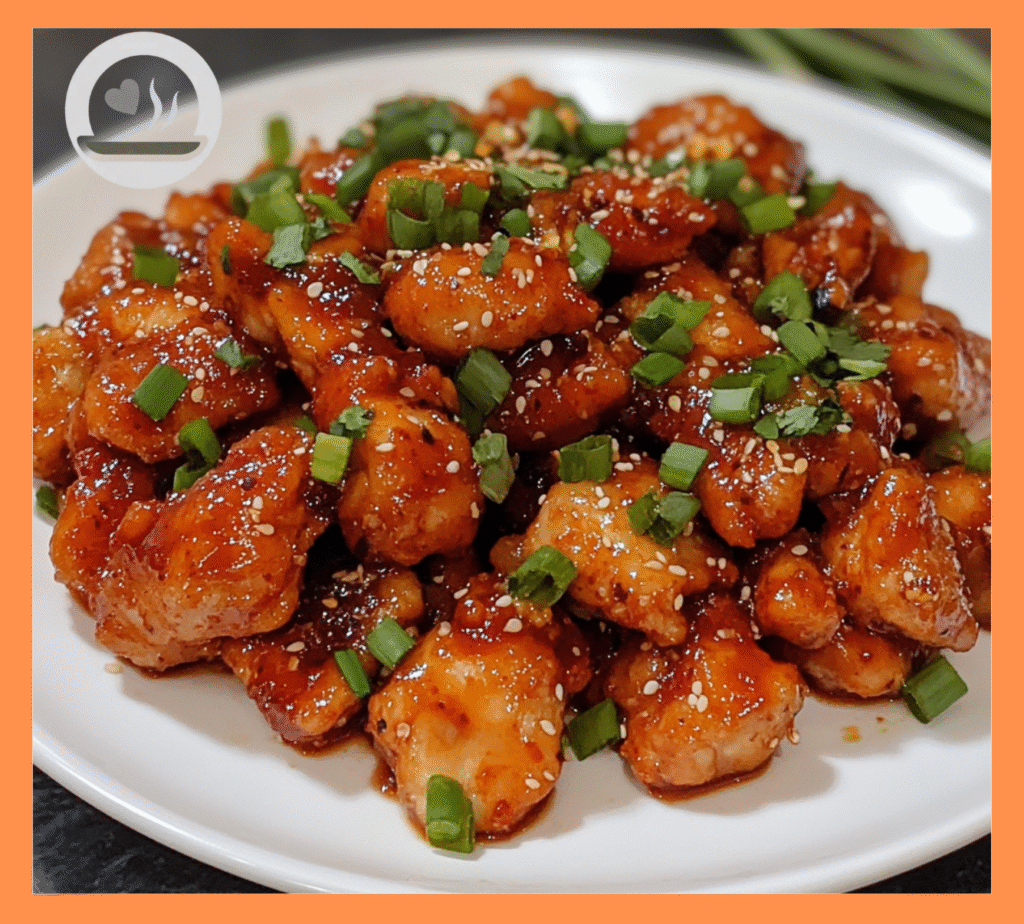
This isn’t your average sticky chicken situation. We’re talking about juicy, tender pieces with a golden crispy coating that gets lacquered in a glossy sweet chili glaze that’s perfectly balanced between sweet, spicy, and tangy. The kind of dish that makes you lick your fingers and immediately start planning when you can make it again.
Ingredients List
For the Chicken:
- 2 lbs boneless, skinless chicken thighs (cut into 2-inch pieces)
- 1 cup all-purpose flour
- 1/2 cup cornstarch
- 2 large eggs (beaten)
- 1/2 cup buttermilk
- 1 tsp garlic powder
- 1 tsp onion powder
- 1 tsp paprika
- 1 tsp salt
- 1/2 tsp black pepper
- Vegetable oil for frying (about 4 cups)
For the Sweet Chili Glaze:
- 1/2 cup sweet chili sauce (store-bought or homemade)
- 3 tbsp soy sauce
- 2 tbsp rice vinegar
- 2 tbsp honey
- 3 cloves garlic (minced)
- 1 tbsp fresh ginger (grated)
- 1 tsp sesame oil
- 1/4 tsp red pepper flakes (adjust to taste)
- 2 tsp cornstarch mixed with 2 tbsp water (slurry)
For Garnish:
- 3 green onions (sliced thin)
- 2 tbsp sesame seeds (toasted)
- Fresh cilantro (chopped)
- Lime wedges for serving
Nutrition Information (Per Serving – Serves 4)
| Nutrient | Amount | % Daily Value |
| Calories | 485 | 24% |
| Total Fat | 18g | 28% |
| Saturated Fat | 4g | 20% |
| Cholesterol | 165mg | 55% |
| Sodium | 890mg | 39% |
| Total Carbs | 42g | 15% |
| Dietary Fiber | 1g | 4% |
| Sugars | 18g | – |
| Protein | 35g | 70% |
| Vitamin C | 8mg | 9% |
| Iron | 2mg | 11% |
Note: Nutrition values are approximate and may vary based on specific ingredients and preparation methods.
Why This Sweet Chili Chicken Recipe Actually Works
Let’s be honest – most homemade sweet chili chicken recipes fall flat. Either the coating gets soggy, the sauce is too sweet, or the chicken ends up dry and flavorless. This version? It solves every single one of those problems.
The secret is in the double-coating technique and getting the oil temperature just right. We’re not just throwing chicken in some flour and hoping for the best here. This method creates an incredibly crispy exterior that stays crispy even after getting sauced.
What Makes This Different From Restaurant Versions
Ever notice how restaurant sweet chili chicken has that perfect glossy coating that never seems to slide off? That’s because they understand the science of proper glazing. Most home cooks make the mistake of just tossing hot chicken with cold sauce – recipe for disaster.
We’re going to heat the sauce separately and create a proper glaze that clings to every piece. Plus, the addition of sesame oil and rice vinegar gives it that authentic Asian restaurant flavor that bottled sweet chili sauce alone just can’t achieve.
The Science Behind Perfect Crispy Coating
Here’s where things get interesting. The combination of flour and cornstarch isn’t random – it’s food science at work.
Cornstarch creates ultra-crispy texture because it forms a different type of crust than regular flour. When it hits hot oil, it creates these tiny air pockets that give you that satisfying crunch. The flour provides structure and helps the coating stick to the chicken.
The buttermilk marinade does double duty too. It tenderizes the chicken while creating the perfect sticky surface for our coating to grab onto. Trust me, skip the buttermilk and you’ll regret it.
Step-by-Step Sweet Chili Chicken Cooking Guide
Alright, let’s get into the nitty-gritty. This recipe moves pretty fast once you start frying, so prep is everything.
Prep Phase (Don’t Rush This!)
First, cut your chicken thighs into uniform pieces – about 2-inch chunks work perfectly. Chicken thighs are non-negotiable here. Breasts will work in a pinch, but thighs stay juicy and have way more flavor.
Set up your dredging station like a pro:
- Bowl 1: Beaten eggs mixed with buttermilk
- Bowl 2: Flour, cornstarch, and all your seasonings whisked together
- Bowl 3: Extra seasoned flour for final coating
This double-dredging technique is what separates the amateurs from the pros. The chicken gets coated, dipped, and coated again for maximum crispiness.
The Marinating Step
Toss your chicken pieces in the egg-buttermilk mixture and let them hang out for at least 15 minutes. I usually prep everything else during this time. The acid in the buttermilk breaks down tough proteins while the fat keeps everything moist.
Frying Like a Pro
Heat your oil to exactly 350°F – and I mean exactly. Too hot and your coating burns before the chicken cooks through. Too cool and you get greasy, soggy chicken that nobody wants.
Here’s my foolproof frying method:
- Remove chicken from marinade, letting excess drip off
- Dredge in seasoned flour mixture, pressing gently to adhere
- Fry in batches – never overcrowd the pot
- Cook for 6-7 minutes until golden brown and internal temp hits 165°F
- Drain on wire rack, not paper towels (they create steam)
Creating the Perfect Glaze
While your chicken’s draining, make your glaze in a large skillet. Combine sweet chili sauce, soy sauce, rice vinegar, honey, garlic, ginger, and sesame oil. Bring it to a gentle simmer.
Here’s the crucial part – add your cornstarch slurry slowly while whisking. The sauce should thicken enough to coat the back of a spoon but not become gluey. This takes about 2-3 minutes of gentle simmering.
The Final Assembly
Add your crispy chicken to the glaze and toss gently but thoroughly. You want every piece completely coated in that glossy goodness. This should take about 1-2 minutes – any longer and your coating starts to soften.
Serving Suggestions That Actually Enhance the Dish
Let’s talk about what goes with this sweet chili chicken because the wrong sides can totally throw off the balance.
Rice Options That Work
Jasmine rice is classic and for good reason – it’s neutral enough to let the chicken shine while soaking up any extra sauce. But here’s a game-changer: coconut rice. Cook your jasmine rice in half coconut milk, half water. The subtle sweetness plays beautifully with the chili heat.
Fried rice works too, though I’d keep it simple – just egg fried rice so you don’t compete with the chicken’s flavors. Brown rice is fine if you’re going the healthy route, though it doesn’t absorb sauce quite as nicely.
Fresh Elements to Cut the Richness
This dish is gloriously rich and sticky, so you need some fresh elements to balance things out:
- Asian slaw with cabbage, carrots, and a light vinaigrette
- Cucumber salad with rice vinegar and sesame oil
- Steamed broccoli or snap peas for color and crunch
- Pickled vegetables – the acidity cuts through the richness perfectly
Noodle Alternatives
Ever tried this over chow mein noodles? Game changer. The crispy noodles add another textural element that works surprisingly well. Rice noodles are great too, though they can get a bit heavy with all that sauce.
Customization Options for Every Taste
One thing I love about this sweet chili chicken recipe is how adaptable it is. Got dietary restrictions? Picky eaters? Let’s fix that.
Heat Level Adjustments
Too spicy for the kids? Cut the red pepper flakes in half and use mild sweet chili sauce. Want more heat? Add some sriracha to the glaze or use Thai chili sauce instead of regular sweet chili sauce.
The beauty of making this at home is total heat control. Start conservative – you can always add more heat, but you can’t take it away.
Protein Swaps That Actually Work
Chicken breast works if you pound it to even thickness and watch your cooking time carefully. Shrimp is fantastic here – just reduce frying time to 2-3 minutes total.
Cauliflower florets make an excellent vegetarian version. The coating technique works exactly the same, though cooking time drops to about 4-5 minutes.
Glaze Variations
Want to mix things up? Try these glaze modifications:
- Add orange juice and zest for citrus brightness
- Swap honey for maple syrup for deeper sweetness
- Include pineapple juice for tropical vibes
- Add a splash of fish sauce for more umami depth
Storage and Meal Prep Strategies
Here’s something most recipes won’t tell you – this sweet chili chicken is actually great for meal prep, though you need to be smart about it.
Proper Storage Techniques
Never store sauced chicken if you want to maintain crispiness. Store the fried chicken and glaze separately in the refrigerator for up to 3 days. When you’re ready to eat, reheat the chicken in a 400°F oven for 3-4 minutes, then toss with reheated glaze.
The glaze keeps beautifully in the fridge for up to a week. Just reheat it gently and thin with a little water if needed.
Freezer-Friendly Approach
You can freeze the fried (but unsauced) chicken for up to 2 months. Freeze on a baking sheet first, then transfer to freezer bags. Reheat from frozen in a 425°F oven for 8-10 minutes, then glaze as usual.
The glaze doesn’t freeze well due to the cornstarch, so make that fresh each time.
Make-Ahead Strategy
Prep the chicken and coating mixture up to 24 hours ahead. The longer marination actually improves the flavor. You can even fry the chicken earlier in the day and reheat it when ready to serve – just don’t sauce it until the last minute.
Troubleshooting Common Sweet Chili Chicken Problems
Let me save you from the mistakes I made learning this recipe. These are the most common issues people run into.
Coating Problems
Coating won’t stick? Your chicken is probably too wet. Pat it dry before the first flour dredge, and make sure you’re pressing the coating on gently but firmly.
Coating burns before chicken cooks? Your oil is too hot. Get a thermometer – guessing oil temperature is a recipe for disaster. 350°F is the sweet spot.
Coating gets soggy after saucing? You’re either adding sauce too early (chicken needs to drain properly first) or your glaze is too thin. A proper glaze should coat the spoon.
Glaze Issues
Glaze too thick? Add warm water or chicken broth a teaspoon at a time. Too thin? Simmer longer or add more cornstarch slurry.
Glaze tastes flat? Usually needs more acid. Add rice vinegar or lime juice gradually until it brightens up. Sometimes a pinch of salt helps too.
Texture Problems
Chicken turned out dry? Probably overcooked. Chicken thighs are forgiving, but even they have limits. Use a meat thermometer – 165°F internal temp is your target.
Oil temperature dropped during frying? This happens when you add too much chicken at once. Fry in smaller batches and let the oil recover between batches.
The Chemistry of Sweet and Spicy Balance
Ever wonder why some sweet chili sauces work while others taste like candy with a kick? It’s all about understanding flavor balance and how heat perception changes with sweetness.
Sugar’s Role Beyond Sweetness
Honey doesn’t just add sweetness – it helps the glaze cling to the chicken and creates that glossy finish we’re after. It also rounds out harsh edges from the vinegar and chili heat.
The combination of honey and sweet chili sauce gives you layers of sweetness – immediate honey sweetness followed by the more complex fruit-based sweetness of the chili sauce.
Acid’s Crucial Function
Rice vinegar is the unsung hero here. It brightens all the other flavors and prevents the dish from being cloying. Without that acid balance, you just have sweet chicken with heat – not the complex flavor profile we’re after.
Heat Distribution
Red pepper flakes provide different heat than the chili sauce. The flakes give you little bursts of heat, while the sauce provides background warmth. This layered heat approach is what makes restaurant versions so addictive.
Advanced Techniques for Restaurant-Quality Results
Want to take this sweet chili chicken from great to absolutely incredible? Here are the pro techniques that make all the difference.
Double-Frying Method
Some restaurants double-fry their chicken for extra crispiness. Fry once at 325°F for 4 minutes, rest for 2 minutes, then fry again at 350°F for 2-3 minutes. This creates an incredibly crispy crust that stays crispy longer.
Glaze Consistency Mastery
The perfect glaze should ribbon off your spoon – thick enough to coat but thin enough to move freely. If you can draw a line through it with your finger that holds for 2-3 seconds before filling in, you’ve nailed it.
Temperature Timing
Serve immediately after glazing for the best texture contrast. The hot glaze slightly softens the very outer layer of coating while leaving the underneath crispy – that’s the texture magic you’re after.
Nutritional Benefits and Healthier Modifications
Let’s be real – this isn’t health food, but it’s not as bad as you might think, especially compared to restaurant versions that often use way more oil and sugar.
Protein Benefits
Chicken thighs provide complete protein plus more iron and zinc than breasts. A serving gives you about 35 grams of protein, which is solid for muscle maintenance and satiety.
Making It Lighter
Want to cut calories without losing flavor?
- Air fry at 400°F for 12-15 minutes instead of deep frying
- Use sugar-free sweetener in place of honey (though texture changes slightly)
- Increase the vegetable ratio in your meal
- Serve over cauliflower rice instead of regular rice
Smart Portion Control
This dish is rich, so a little goes a long way. Serve smaller portions with plenty of vegetables and you’ll be satisfied without overdoing it. The high protein content helps with satiety too.
Conclusion: Your New Signature Dish
There you have it – the ultimate sweet chili chicken recipe that actually delivers on its promises. No more disappointing homemade attempts that don’t measure up to your favorite restaurant version.
This recipe gives you everything you want: crispy coating that stays crispy, a glossy glaze that clings perfectly, and that addictive sweet-spicy flavor balance that keeps you coming back for more. Plus, once you master the technique, you can adapt it a dozen different ways.
The best part? Everyone will think you’re some kind of cooking genius when you serve this. I’ve had people offer to pay me to make this for their dinner parties – that’s how good it is.
So next time you’re craving that perfect combination of crispy, sticky, and spicy, skip the takeout and make this instead. Your kitchen will smell amazing, your family will be impressed, and you’ll have mastered one of those recipes that becomes part of your permanent rotation. Trust me, this one’s a keeper.