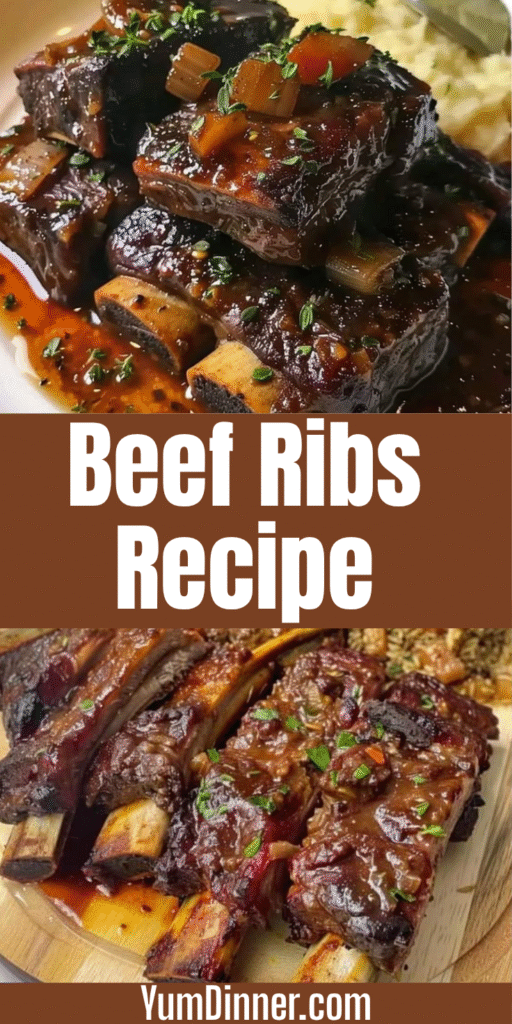
Beef Ribs Recipe – Tender, Juicy & Fall-Off-the-Bone Good
Beef Ribs Recipe That’ll Make Your Neighbors Jealous
You know that moment when you walk past a BBQ joint and catch a whiff of smoky, tender beef ribs? Your mouth starts watering, and suddenly you’re questioning every life choice that led you away from that heavenly aroma. Well, guess what? You don’t need to shell out $30 for restaurant ribs when you can create magic in your own backyard (or kitchen, no judgment here).
I’ve been perfecting this beef ribs recipe for years, and let me tell you – it’s been a journey of burnt edges, dry disasters, and that one time I accidentally created charcoal instead of dinner. But after countless experiments and a few neighborhood complaints about the smoke alarm, I’ve cracked the code to fall-off-the-bone beef ribs that’ll have people begging for your secret.
What Makes This Beef Ribs Recipe Different?
Here’s the thing about most beef rib recipes online – they’re either ridiculously complicated or disappointingly bland. This recipe strikes that sweet spot between “I’m not a chef” and “holy cow, this tastes incredible.”
The secret? Low and slow cooking combined with a dry rub that actually penetrates the meat, not just sits on top looking pretty. I use a technique that involves both oven braising and finishing under the broiler – because sometimes you need to cheat a little to get restaurant-quality results at home.
Ingredients You’ll Need
For the Beef Ribs:
- 4-5 lbs beef short ribs (bone-in, cut flanken or English style)
- 2 tablespoons olive oil
- 1 large onion, sliced
- 4 cloves garlic, minced
- 2 cups beef broth
- 1 cup tomato sauce
- 2 tablespoons apple cider vinegar
For the Dry Rub:
- 2 tablespoons brown sugar
- 1 tablespoon smoked paprika
- 1 tablespoon chili powder
- 2 teaspoons garlic powder
- 2 teaspoons onion powder
- 1 teaspoon black pepper
- 1 teaspoon salt
- 1 teaspoon cumin
- 1/2 teaspoon cayenne pepper (adjust to taste)
For the Glaze:
- 1/4 cup honey
- 2 tablespoons soy sauce
- 1 tablespoon Dijon mustard
- 1 teaspoon smoked paprika
Pro tip: Don’t you dare skip the brown sugar in that rub – it’s what creates that gorgeous caramelized crust that makes people think you actually know what you’re doing.
Nutritional Information (Per Serving – Based on 6 Servings)
| Nutrient | Amount |
| Calories | 485 |
| Protein | 42g |
| Total Fat | 28g |
| Saturated Fat | 12g |
| Carbohydrates | 18g |
| Fiber | 2g |
| Sugar | 15g |
| Sodium | 890mg |
| Iron | 4.2mg |
| Calcium | 65mg |
Note: Nutritional values are approximate and may vary based on specific ingredients and portion sizes.
The Game-Changing Preparation Process
Step 1: Create Your Flavor Foundation
First things first – let’s talk about that dry rub. Mix all those spices together in a bowl, and don’t be shy about it. I like to make double batches because this rub works magic on chicken and veggies too.
Pat your ribs completely dry with paper towels. This isn’t optional, folks. Moisture is the enemy of a good crust, and we’re after that beautiful, caramelized exterior that makes your taste buds do a happy dance.
Massage that dry rub into every nook and cranny of those ribs. I’m talking full coverage here – sides, ends, between the bones. Let them sit at room temperature for at least 30 minutes while you preheat your oven to 325°F (163°C).
Step 2: The Searing Secret
Heat that olive oil in a large, oven-safe Dutch oven or heavy pot over medium-high heat. You want it hot enough that the oil shimmers but doesn’t smoke – we’re searing, not creating a fire hazard.
Sear those ribs on all sides until they develop a gorgeous brown crust. This takes patience (about 3-4 minutes per side), but trust me, this step is where the magic happens. Don’t overcrowd the pot – work in batches if you need to.
Remove the ribs and set them aside. Now toss those sliced onions into the same pot with all those beautiful browned bits. Cook until they’re softened and golden, about 5 minutes. Add the minced garlic and cook for another minute until fragrant.
The Low and Slow Method That Actually Works
Step 3: Building the Braising Liquid
Pour in the beef broth, tomato sauce, and apple cider vinegar. Give everything a good stir, scraping up any browned bits from the bottom of the pot. Those little bits are pure flavor gold, so don’t leave them behind.
Nestle those seared ribs back into the pot, making sure they’re mostly submerged in the liquid. If you need more liquid, add beef broth or even water – just don’t let them sit there naked and dry.
Step 4: The Waiting Game (Worth Every Minute)
Cover that pot with a tight-fitting lid and slide it into your preheated oven. Set a timer for 2.5 to 3 hours and resist the urge to peek every 20 minutes. I know it’s tempting, but every time you lift that lid, you’re letting precious heat and moisture escape.
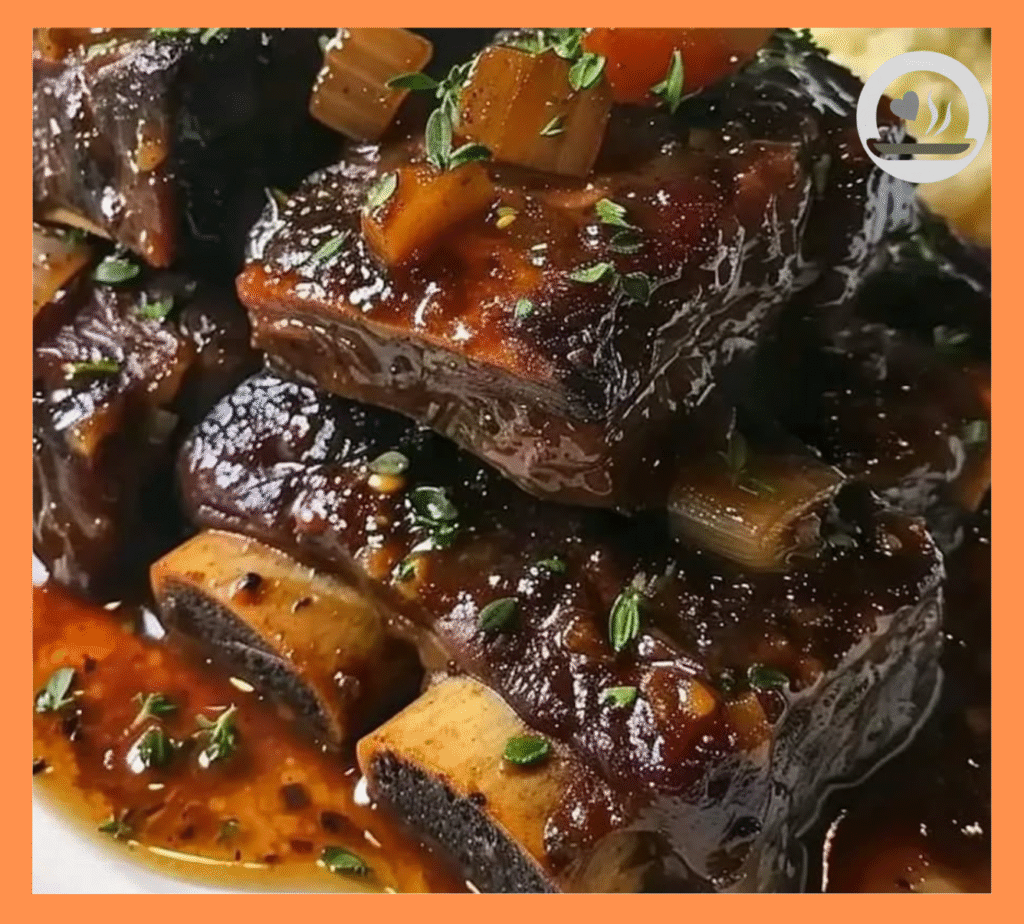
Want to know if they’re done? The meat should be pulling away from the bones, and you should be able to easily insert a fork and twist it without resistance. If you’re still getting pushback, give them another 30 minutes.
The Finishing Touches That Make All the Difference
Step 5: Creating That Irresistible Glaze
While your ribs are finishing up their spa day in the oven, whisk together the honey, soy sauce, Dijon mustard, and smoked paprika for your glaze. This combo creates the perfect balance of sweet, salty, and smoky that’ll have people asking what your secret is.
Pro move: Taste your glaze and adjust. Too sweet? Add more mustard. Need more depth? A splash of the braising liquid works wonders.
Step 6: The Grand Finale
Carefully remove your ribs from the braising liquid and place them on a foil-lined baking sheet. Switch your oven to broil and position the rack about 6 inches from the heating element.
Brush that gorgeous glaze all over the ribs – don’t be stingy here. Slide them under the broiler for 3-5 minutes until the glaze bubbles and caramelizes. Keep a close eye on them because the line between “perfectly caramelized” and “oops, I made charcoal” is thinner than you think.
Serving Suggestions That’ll Complete the Experience
These ribs are show-stoppers on their own, but why not go the extra mile? I love serving them with:
- Creamy coleslaw that cuts through the richness
- Buttery mashed potatoes to soak up any extra sauce
- Grilled corn on the cob for that classic BBQ vibe
- Garlic bread because carbs make everything better
Don’t forget to strain that braising liquid – it makes an incredible gravy or sauce for drizzling. Just reduce it on the stovetop for 10-15 minutes until it thickens up.
Troubleshooting Common Beef Ribs Disasters
“My Ribs Turned Out Tough”
This usually means they needed more time in the oven. Beef ribs are forgiving – you can cook them longer, but you can’t undo tough meat. When in doubt, give them another 30 minutes.
“The Flavor Didn’t Penetrate”
Next time, let that dry rub sit on the meat longer – ideally overnight in the fridge. The salt needs time to work its way into the meat fibers.
“They’re Too Salty”
Easy fix – rinse your ribs quickly under cold water before applying the rub, then pat them dry. Some cuts are pre-brined, which can make your final result oversalted.
Make-Ahead Tips for Busy Weekends
Here’s something most people don’t tell you – these ribs are actually better the next day. The flavors meld together beautifully overnight. You can braise them completely, refrigerate, then just glaze and broil when you’re ready to serve.
You can also prep the dry rub and glaze components days ahead. Store the rub in an airtight container, and keep the glaze in the fridge for up to a week.
Why This Recipe Beats Restaurant Versions
Look, I love a good restaurant meal as much as the next person, but there’s something special about mastering this dish at home. You control the salt, the spice level, and most importantly, the quality of the meat. Plus, your house smells incredible for hours – try getting that experience at a restaurant 🙂
Most restaurants rush the process or use shortcuts that sacrifice flavor for speed. This recipe gives you that slow-cooked, fall-apart texture that only comes from proper braising.
Storage and Reheating Without Ruining Everything
Leftover ribs (if you’re lucky enough to have any) keep beautifully in the fridge for up to 4 days. Reheat them gently in a 300°F oven, covered with foil, until warmed through. Don’t microwave them unless you enjoy tough, rubbery meat.
You can freeze cooked ribs for up to 3 months, but I recommend freezing them before glazing. Thaw overnight in the fridge, then glaze and broil for that fresh-from-the-oven finish.
The Final Verdict
After years of tweaking and testing, this beef ribs recipe consistently delivers restaurant-quality results without the restaurant prices or the need to wear pants (home cooking perks, am I right?).
The combination of that flavorful dry rub, slow braising, and finishing glaze creates layers of flavor that’ll have your dinner guests convinced you’ve been hiding some secret culinary skills. Just don’t tell them how easy it actually is – let them think you’re a BBQ genius.
FYI, once you master this technique, you’ll find yourself applying it to other cuts of meat. It works beautifully with chuck roast, lamb shanks, and even chicken thighs.
So fire up that oven, embrace the wonderful mess of BBQ cooking, and get ready to serve up some seriously impressive beef ribs. Your taste buds (and your dinner guests) will thank you later.