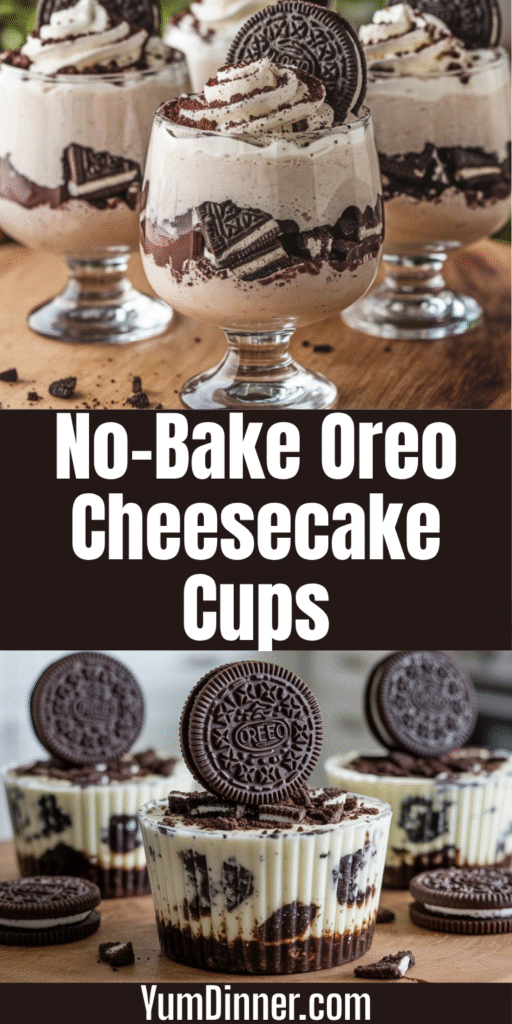
No-Bake Oreo Cheesecake Cups – Quick, Creamy & Irresistible
Picture this: you volunteered to bring dessert to the potluck, completely forgot about it until three hours beforehand, and now you’re standing in your kitchen having a mild panic attack. Sound familiar? That’s exactly the situation that led me to discover these no-bake Oreo cheesecake cups.
I needed something that looked impressive, tasted incredible, and required zero actual baking skills. Three hours later, I walked into that potluck carrying individual cheesecake cups that had people asking for the recipe before they even finished their first bite.
The best part? Everyone assumed I’d spent hours crafting these elegant little desserts when reality involved me crushing Oreos with a rolling pin while simultaneously whipping cream cheese. Sometimes the simplest recipes create the most spectacular results – and your secret is safe with me.
Why These Cups Are Pure Genius
Most cheesecake recipes require precise temperatures, water baths, and enough patience to let them set overnight. These cups eliminate all that complexity while delivering the same rich, creamy satisfaction that makes cheesecake irresistible.
Individual portions solve the serving problem that comes with traditional cheesecake. No messy cutting, no wondering if everyone got equal portions, and no arguing over who gets the piece with the most crust.
The Oreo element isn’t just about flavor – those chocolate cookies provide the structure and contrast that makes each bite interesting. Crunchy crust, silky filling, and enough chocolate to satisfy any craving – what more could you want from a dessert?
The Make-Ahead Magic
These cups actually improve after sitting in the refrigerator for several hours. The flavors meld together and the texture becomes even more luxurious as everything settles and chills properly.
You can make them up to two days ahead of serving, which makes them perfect for entertaining or meal prep desserts. Try doing that with a traditional baked cheesecake!
Complete Ingredients List
The Oreo Crust Foundation
- 24 Oreo cookies (regular, not double-stuffed)
- 4 tablespoons butter, melted
- 2 tablespoons granulated sugar
- Pinch of salt
The Cheesecake Filling
- 16 oz cream cheese, room temperature
- 1 cup powdered sugar
- 1 teaspoon vanilla extract
- 1/4 teaspoon almond extract (optional but amazing)
- 1 cup heavy whipping cream, cold
- 2 tablespoons cornstarch
The Flavor Enhancers
- 12 additional Oreo cookies, roughly chopped
- 1/4 cup mini chocolate chips
- 2 tablespoons cocoa powder (for dusting)
The Presentation Extras
- Whipped cream for topping
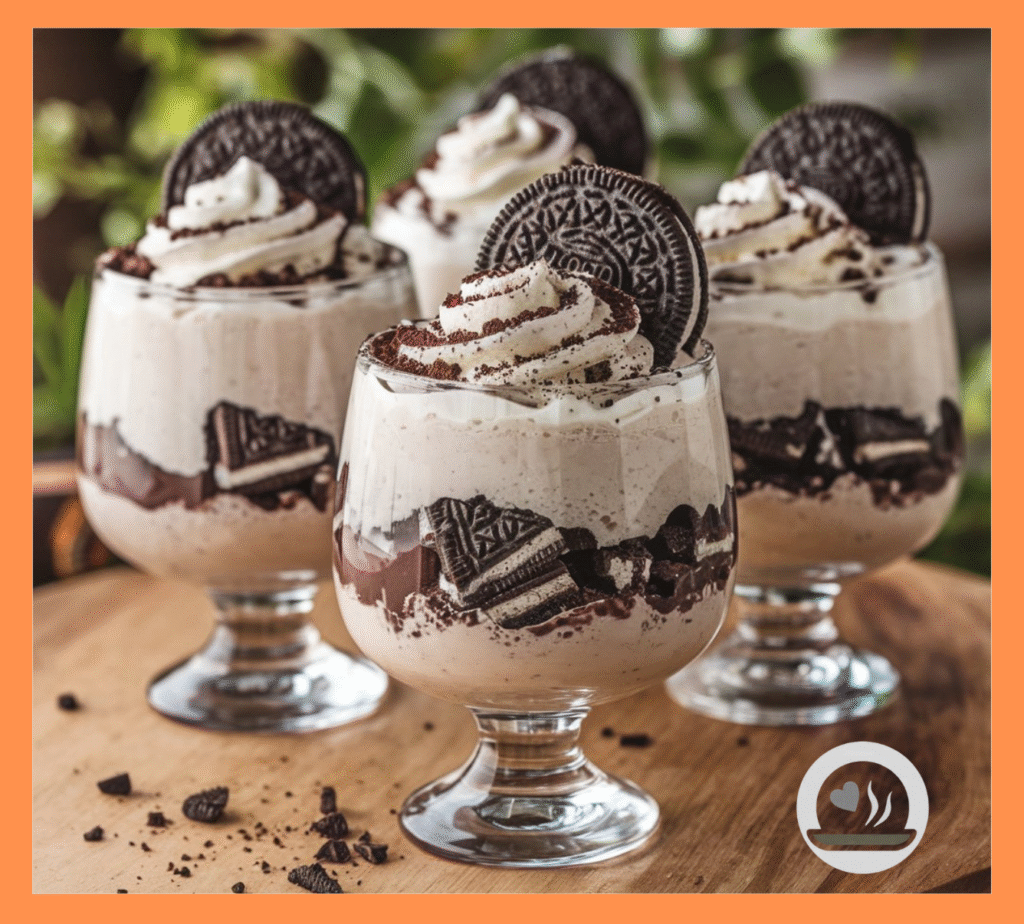
- Whole Oreo cookies for garnish
- Chocolate shavings (optional)
- Fresh berries (optional but pretty)
Equipment You’ll Need
- 12 clear plastic cups or small mason jars
- Food processor or rolling pin for crushing
- Electric mixer (hand or stand mixer)
- Large mixing bowls
Step-by-Step Assembly Method
Phase One: Crust Creation Magic
Start by crushing your Oreo cookies into fine crumbs. A food processor makes this effortless – just pulse until you get consistent, fine crumbs with no large chunks remaining.
No food processor? No problem. Place cookies in a sealed plastic bag and crush them with a rolling pin. This method takes more elbow grease but works perfectly. Just make sure the bag is sturdy or you’ll have Oreo crumbs exploding across your kitchen.
Mix the cookie crumbs with melted butter, sugar, and a pinch of salt. The mixture should hold together when pressed – if it seems too dry, add another tablespoon of melted butter.
Press about 2 tablespoons of the crust mixture into the bottom of each cup, packing it down firmly with the back of a spoon or your fingers. The crust should be compact enough to hold its shape but not so compressed that it becomes rock-hard.
Phase Two: The Cheesecake Transformation
Room temperature cream cheese is absolutely crucial for smooth, lump-free filling. Cold cream cheese creates a chunky, uneven texture that no amount of mixing can fix. If you forgot to take it out early, cut it into cubes and microwave for 15-20 seconds to soften.
Beat the cream cheese until light and fluffy – about 2-3 minutes with an electric mixer. Scrape down the bowl sides frequently to ensure even mixing and eliminate any lumps.
Add powdered sugar, vanilla extract, and almond extract (if using). Beat until completely smooth and well combined. The mixture should be pale and creamy without any visible sugar granules.
Phase Three: The Whipping Cream Secret
In a separate bowl, whip the cold heavy cream with cornstarch until stiff peaks form. The cornstarch helps stabilize the whipped cream, preventing it from deflating and keeping your cheesecake cups fluffy for days.
Fold one-third of the whipped cream into the cream cheese mixture to lighten it, then gently fold in the remaining whipped cream. Don’t overmix – you want to maintain that airy texture.
Fold in the chopped Oreo pieces and mini chocolate chips. Each spoonful should have visible cookie chunks that provide texture contrast to the smooth filling.
Phase Four: Assembly and Chilling
Spoon or pipe the cheesecake filling over the crust in each cup, leaving about 1/2 inch of space at the top for garnishes. A piping bag or large zip-top bag with the corner cut off makes this process neater and more professional-looking.
Gently tap each cup on the counter to settle the filling and eliminate air bubbles. This step prevents unsightly gaps in your finished dessert.
Cover the cups with plastic wrap and refrigerate for at least 4 hours, though overnight is even better. The filling needs time to set properly and develop that perfect cheesecake texture.
Pro Tips That Separate Good from Great
Cream Cheese Temperature Tricks
The single biggest mistake people make is using cold cream cheese. It creates lumpy filling that looks amateur and tastes disappointing. Plan ahead and pull your cream cheese out 2-3 hours before making these cups.
Emergency softening method: cut cream cheese into cubes and let it sit at room temperature for 30 minutes. The smaller pieces warm up much faster than whole blocks.
Whipped Cream Stability Secrets
Adding cornstarch to whipped cream prevents deflation and keeps your cheesecake cups looking perfect for days. This professional trick ensures consistent results every time.
Over-whipped cream turns into butter, so stop beating as soon as you see stiff peaks forming. The cream should hold its shape when you lift the beaters but still look smooth and glossy.
Oreo Crushing Consistency
Aim for fine, consistent crumbs rather than a mixture of powder and large chunks. Inconsistent crust texture affects both taste and appearance.
Save some larger cookie pieces for mixing into the filling – different textures in each bite make the dessert more interesting and prevent it from being monotonously smooth.
Customization Options That Actually Work
Flavor Variations
Golden Oreos create a vanilla-forward version that’s lighter in both color and flavor. The technique remains exactly the same, but the final result feels more elegant and sophisticated.
Adding a tablespoon of instant coffee powder to the cream cheese mixture creates a mocha version that coffee lovers will obsess over.
Mix-In Adventures
Crushed peppermint candies, chopped peanut butter cups, or mini marshmallows can replace or supplement the chocolate chips for seasonal or themed variations.
A swirl of caramel or chocolate sauce through the filling creates beautiful marbled effects and additional flavor complexity.
Presentation Upgrades
Drizzle melted chocolate over the tops before serving for an elegant finishing touch. White chocolate drizzle on dark Oreo cups creates stunning visual contrast.
Fresh berries not only add color but provide acidic brightness that cuts through the rich cheesecake perfectly.
Common Mistakes and How to Avoid Them
The Lumpy Filling Disaster
This almost always happens because of cold cream cheese or insufficient mixing time. Take the extra time to properly soften your cream cheese and beat the mixture thoroughly.
If you do end up with lumps, strain the mixture through a fine-mesh sieve before folding in the whipped cream. It’s extra work, but it salvages the texture.
Runny, Unstable Results
Using too much liquid or not enough chilling time creates desserts that don’t hold their shape. Stick to the recipe ratios and be patient with the setting time.
Over-mixed whipped cream deflates and creates loose, runny filling. Stop mixing as soon as you achieve the desired consistency – you can’t undo over-whipped cream.
Soggy Crust Problems
Too much butter in the crust mixture creates a soggy bottom that doesn’t provide proper textural contrast. The mixture should just hold together, not feel wet or greasy.
Pressing the crust too loosely allows moisture from the filling to penetrate and create mushiness. Pack it firmly but don’t over-compress.
Make-Ahead and Storage Solutions
Timeline Planning
These cups are actually better after sitting overnight in the refrigerator. The flavors develop and the texture becomes more cohesive and luxurious.
You can make them up to 48 hours in advance without any quality loss. Beyond that, the Oreo pieces start to soften too much and lose their textural impact.
Storage Best Practices
Cover each cup individually with plastic wrap to prevent absorbing refrigerator odors and maintain optimal texture. Loosely covered cups can develop condensation that affects the presentation.
Don’t freeze these cups – the texture becomes grainy and unpleasant after thawing. The beauty of no-bake desserts is their fresh, creamy consistency.
Serving Suggestions and Presentation Ideas
Professional Presentation Tricks
Add garnishes just before serving to maintain their appearance and texture. Whipped cream, chocolate shavings, and fresh berries all look best when applied at the last minute.
Use clear cups or glasses to showcase the beautiful layers. The visual appeal is half the charm of these individual desserts.
Portion and Pairing Considerations
Each cup provides a satisfying but not overwhelming portion – perfect for ending a heavy meal or satisfying dessert cravings without going overboard.
Serve with coffee or cold milk to balance the richness. The slight bitterness of coffee complements the sweet, creamy filling perfectly.
Troubleshooting Your Cheesecake Success
When Texture Goes Wrong
Grainy filling usually means the powdered sugar wasn’t fully incorporated or the cream cheese had lumps. Always sift powdered sugar if it seems clumpy, and take time to achieve smooth cream cheese consistency.
Separated or curdled appearance happens when ingredients are at different temperatures. Everything should be at room temperature except the heavy cream, which needs to stay cold for proper whipping.
Timing and Temperature Issues
Filling not setting properly? Make sure you whipped the cream to stiff peaks and gave adequate chilling time. Some refrigerators run warmer than others, so you might need extra time.
Condensation forming on the surface? This happens when cups aren’t properly covered or when temperature fluctuations occur. Cover tightly and avoid opening the refrigerator door frequently.
Why These Cups Deserve Your Attention
No-bake Oreo cheesecake cups solve every dessert dilemma – they’re impressive enough for company, simple enough for beginners, and convenient enough for busy schedules.
The individual serving format eliminates portion control guesswork and makes cleanup effortless. No cutting, no serving utensils, no mess – just grab a cup and enjoy.
Most importantly, they taste absolutely incredible. Rich, creamy, chocolatey, and satisfying without being overly heavy or complicated. Sometimes the simplest approaches yield the most spectacular results.
The next time you need a dessert that looks like you spent hours in the kitchen but actually took minutes to assemble, remember these cups. Your secret shortcut will be safe, and your reputation as a dessert genius will be secure.
Trust me, once you see how easy these are to make and how much people love them, you’ll wonder why you ever stressed about dessert again. IMO, that’s the best kind of recipe – maximum impact with minimal effort! 🙂