Soft Peanut Butter Cup Cookies Filled with Chocolate
Remember that moment when you first bit into a peanut butter cup and realized that some genius had figured out the perfect flavor combination? Well, what if I told you we could capture that exact magic in cookie form – but make it even better?
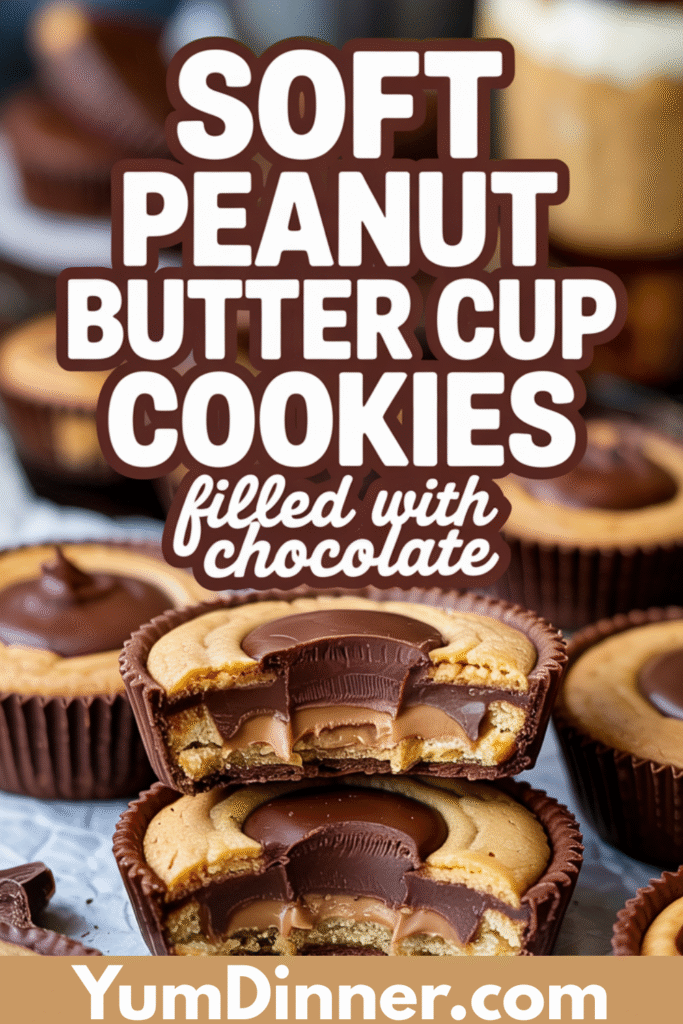
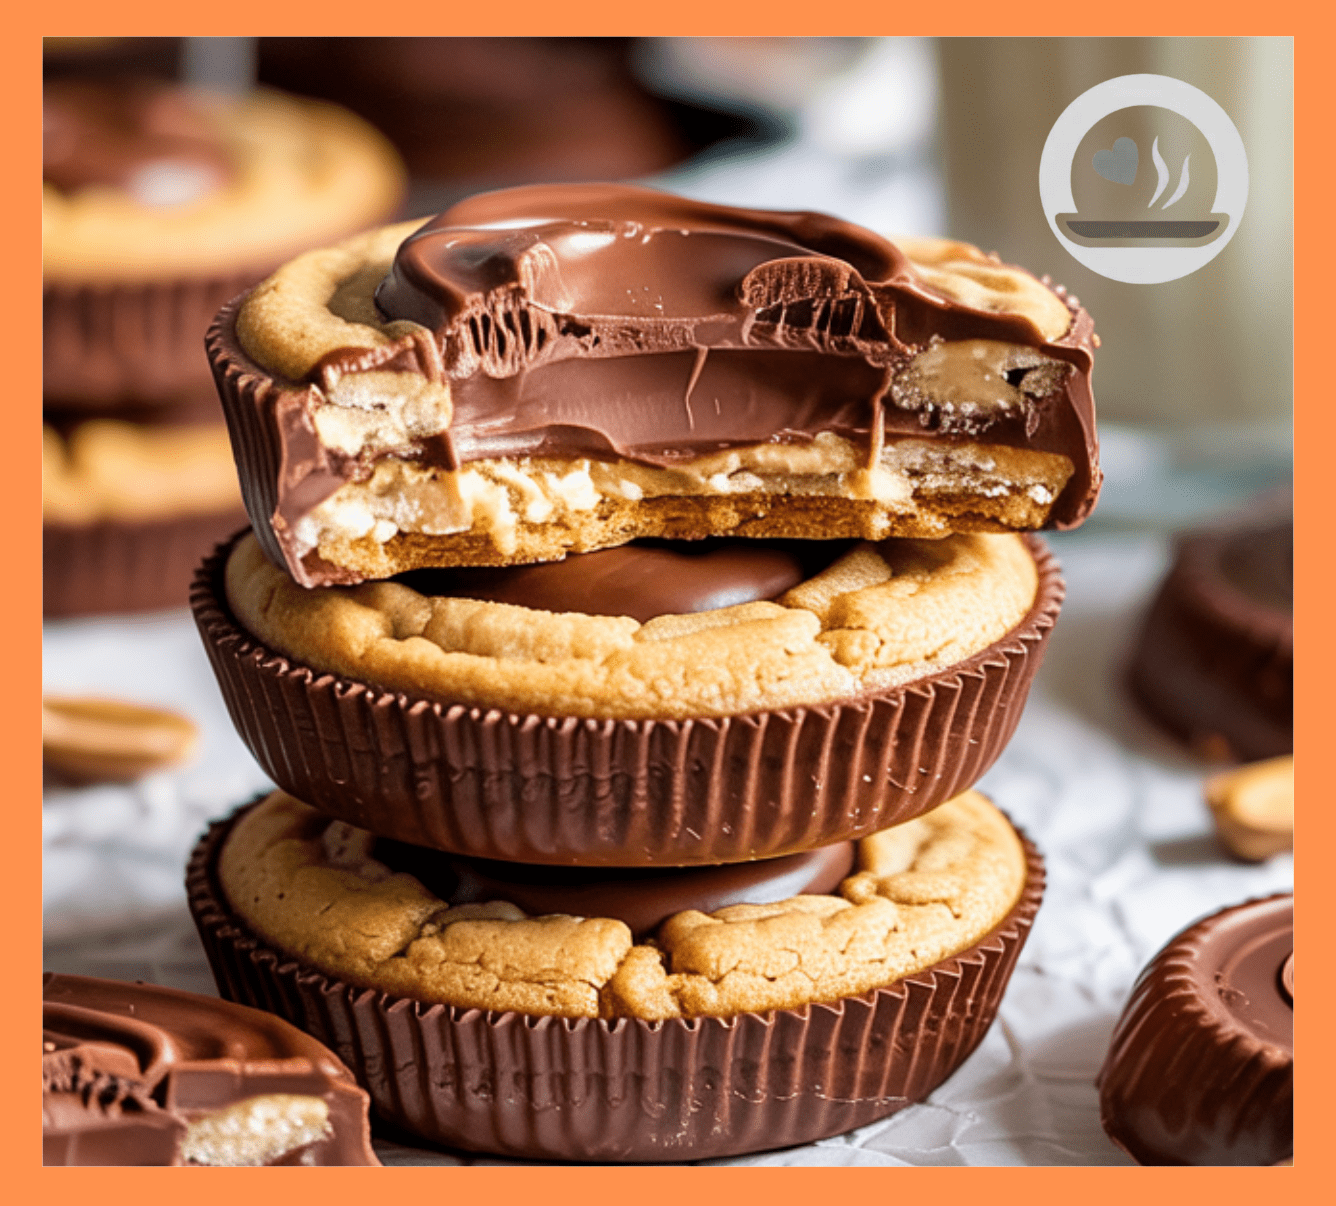
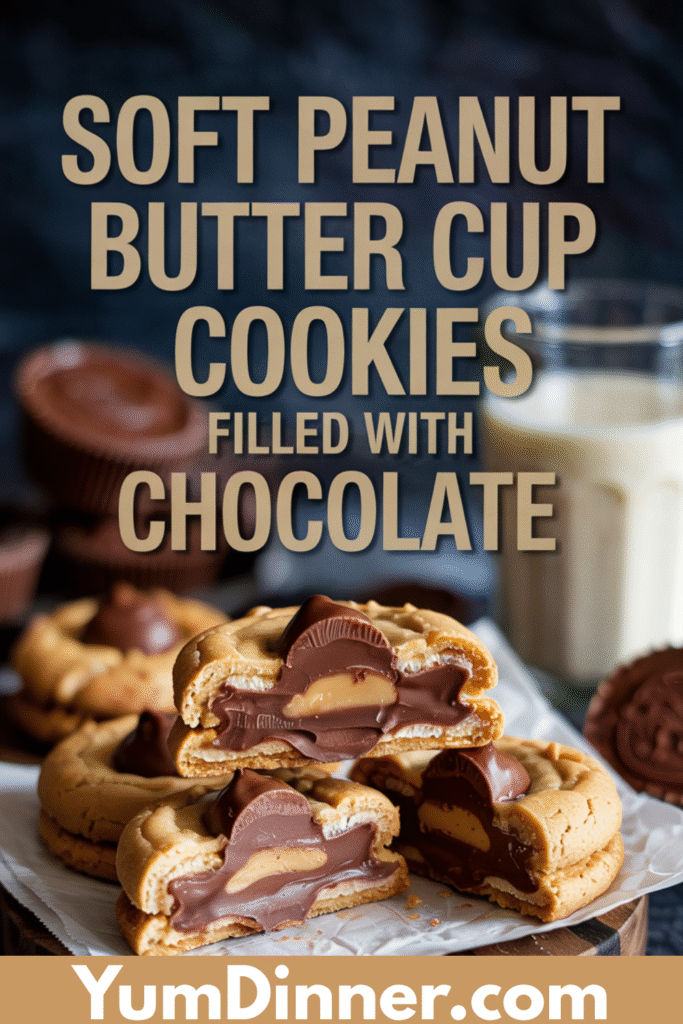
These soft peanut butter cup cookies filled with chocolate are what happens when your favorite childhood candy meets the perfect cookie recipe. We’re talking pillowy-soft peanut butter cookies with a molten chocolate center that oozes out with every bite. It’s like finding treasure, except the treasure is chocolate and you get to eat it without feeling guilty about raiding ancient tombs.
What makes these cookies absolutely irresistible isn’t just the obvious peanut butter and chocolate love affair – it’s the texture contrast that’ll make your taste buds do a happy dance. The outside stays perfectly soft and chewy while the inside delivers that surprise burst of rich, melted chocolate. Plus, they’re deceptively simple to make, which means you can whip up a batch whenever that peanut butter cup craving hits (which, let’s be honest, is probably right now).
Perfect Pairing
- A tall glass of ice-cold milk (obviously)
- Coffee if you like your sweet with a little bitter
- Crumbled over vanilla ice cream… don’t say I didn’t warn you
Occasions to Serve
- Bake sales (they’ll disappear in minutes)
- Holiday cookie swaps—prepare for compliments
- “I had a rough Tuesday and need a cookie hug” kind of day
Recipe Overview
- Servings: 24 cookies
- Prep Time: 15 minutes
- Chill Time: 30 minutes (optional but worth it)
- Bake Time: 10 minutes
- Total Time: ~55 minutes
- Calories: ~220 per cookie (you’re welcome)
Nutritional Info (Per Cookie)
- Protein: 4g
- Carbs: 26g
- Fat: 12g
- Sugar: 17g
- Fiber: 1g
Ingredients List
Dry Ingredients
- 1 1/4 cups all-purpose flour
- 1/2 teaspoon baking soda
- 1/4 teaspoon salt
Wet Ingredients
- 1/2 cup unsalted butter, softened
- 1/2 cup creamy peanut butter
- 1/2 cup granulated sugar
- 1/2 cup brown sugar, packed
- 1 large egg
- 1 teaspoon vanilla extract
For Filling
- 24 mini peanut butter cups (Reese’s or whatever’s your fave)
- 1/2 cup semisweet chocolate chips (optional but epic)
Step-by-Step Instructions
1. Prep Your Dough
- In a bowl, whisk together flour, baking soda, and salt. Set aside.
- In another large bowl, cream together butter, peanut butter, granulated sugar, and brown sugar until smooth and fluffy (about 2–3 minutes).
- Add in egg and vanilla, mix well.
- Slowly beat in the dry ingredients just until combined—don’t overdo it.
- If using, stir in chocolate chips for an extra chocolate kick.
2. Chill (If You Can Wait)
- Cover and chill dough for 30 minutes. Totally optional, but helps keep the cookies thick and chewy.
3. Shape and Stuff
- Preheat oven to 350°F (175°C).
- Line a baking sheet with parchment paper.
- Scoop about 1 tablespoon of dough, flatten it slightly in your palm, press a peanut butter cup in the center, and cover it with a second tablespoon of dough. Seal the edges and roll gently into a ball.
- Repeat until all your dough is stuffed and fabulous.
4. Bake to Perfection
- Place cookies on baking sheet, spaced about 2 inches apart.
- Bake for 9–11 minutes, until edges are set and tops look barely done.
- Cool on the baking sheet for 5 minutes, then move to a wire rack (if you don’t eat them all warm, straight off the pan, like a legend).
Tips for a Successful Cookie
Want to nail these cookies every single time? Here are my tried-and-true secrets:
Chill Your Dough: If the dough feels too soft to work with, pop it in the refrigerator for 15-20 minutes. This makes wrapping the peanut butter cups much easier and prevents spreading during baking.
Don’t Overbake: These cookies are done when the edges are set but the centers still look slightly underdone. They’ll continue cooking on the hot pan, and this technique ensures that perfect soft texture.
Use Room Temperature Ingredients: Make sure your butter and egg are at room temperature for the smoothest mixing and best texture. Cold ingredients can lead to dense cookies.
Unwrap Candies Ahead: Save yourself time and frustration by unwrapping all your mini peanut butter cups before you start mixing. Future you will thank present you.
Storage Secret: Store these cookies in an airtight container with a slice of bread. The bread keeps them soft and prevents them from drying out.
Troubleshooting Common Issues
Cookies Spreading Too Much: Your butter might be too warm, or you might need to chill the dough. Pop formed cookie balls in the fridge for 15 minutes before baking.
Chocolate Leaking Out: Make sure the peanut butter cup is completely sealed within the dough. If it’s still happening, your dough might be too thin – add a tablespoon more flour.
Cookies Too Dense: Don’t overmix the dough once you add the flour. Mix just until ingredients are combined for the lightest texture.
Centers Not Staying Soft: You might be overbaking them. Remember, they should look slightly underdone when you take them out – they’ll finish cooking on the pan.
Dough Too Sticky: This usually happens with natural peanut butter. Stick to processed peanut butter for this recipe, or add an extra 2-3 tablespoons of flour if needed.
FAQ
1. Can I use crunchy peanut butter?
Sure can. It adds a little texture, which some people love.
2. Can I use regular-sized peanut butter cups?
You could, but they’re a bit chunky for this recipe. Stick to minis unless you’re feeling bold.
3. Can I freeze them?
Yes! Freeze the baked cookies or the unbaked stuffed dough balls. Just add an extra minute or two of bake time from frozen.
There you have it – the cookie recipe that’s about to become your new obsession and everyone else’s new favorite request. These soft peanut butter cup cookies filled with chocolate prove that sometimes the best things in life really are the simplest. With basic pantry ingredients and a little bit of love, you’ve just created something that’ll have people talking long after the last crumb disappears.
The beauty of this recipe isn’t just in how delicious these cookies are (though they’re pretty spectacular), but in how achievable they are for bakers of any skill level. Whether you’re a seasoned pro or someone who usually burns toast, these cookies are practically foolproof and incredibly forgiving.
So go ahead, treat yourself to that therapeutic baking session you’ve been craving. Your kitchen is about to smell absolutely incredible, and you’re about to become everyone’s favorite person. Don’t forget to save a few for yourself – trust me, they disappear faster than you’d expect!
Have you tried these cookies yet? I’d love to hear how they turned out for you! Drop a comment below and let me know if you made any fun variations or if they were as big a hit as I promised. And if you’re feeling generous, share a photo – there’s nothing I love more than seeing these beauties fresh out of someone else’s oven.
FYI: They also make amazing gifts… assuming you don’t eat them all first. 😉